Drywall Repair 101: How to Patch Holes, Cracks, and Dents Like a Pro
Introduction
Drywall (also called gypsum board or sheetrock) is the smooth, paintable paneling that forms the walls and ceilings in most modern homes. It's affordable, fire-resistant, and easy to install—which is why it's the go-to choice for builders in California and beyond.
But like anything in your home, drywall doesn't last forever. Over time, it can develop nail holes, cracks, dents, and even large holes from everyday wear and tear, accidents, or structural settling. These problems might seem small at first, but they can turn into bigger issues if left alone.
Ignoring these issues can lead to:
- Worsening damage (small cracks can spread)
- Mold growth (if moisture gets inside)
- Lower home value (visible flaws turn off buyers)
The good news? Most drywall repairs are simple DIY projects! You don't need to be a pro to fix common problems and make your walls look new again.
This guide will teach you:
- The most common types of drywall damage (and what causes them)
- Essential tools & materials (budget-friendly options included)
- Step-by-step repair methods (from tiny nail holes to gaping holes)
- Pro tips for a seamless finish (so repairs disappear)
- When to call a professional (and why hiring a California handyman saves time)
Why Does Drywall Get Damaged? (Common Causes)
Understanding why drywall gets damaged helps prevent future problems. If you know what to look out for, you can stop issues before they get worse.
Here are the top culprits:
1. Everyday Wear & Tear
- Nail/screw holes (from hanging pictures, shelves, or TVs)
- Scuffs & scratches (furniture, pets, kids playing)
- Door handle dings (from doors swinging into walls)
These small marks happen in every home, but over time, they add up and make walls look worn out.
2. Moisture & Water Damage
- Leaky roofs or pipes (softens drywall, causes bubbling)
- Bathroom humidity (weakens drywall over time)
- Flooding (requires full drywall replacement)
Drywall and water don't mix. Even a little moisture can lead to big problems like mold or rot.
3. Structural Shifts
- House settling (small cracks near doors/windows)
- Earthquake movement (more common in California)
- Foundation issues (large, recurring cracks)
These cracks may look small, but they can be signs of something bigger going on with your home.
4. Accidental Damage
- Furniture bumps (couches, beds, or moving boxes)
- DIY mishaps (over-sanding, cutting too deep)
- Pet damage (scratches or chewing)
Life happens! Whether you're rearranging a room or have a playful pup, drywall takes the hit.
Types of Drywall Damage (And How to Identify Them)
Not all drywall damage is the same. Knowing what kind of damage you have helps you choose the right fix. Some problems are small and easy to repair, while others need more work.
Here's how to diagnose the problem:
| Type of Damage | What It Looks Like | Best Repair Method |
|---|---|---|
| Small nail holes | Tiny holes (under ¼ inch) from nails or screws | Spackle + sanding (just fill, let dry, and smooth it out) |
| Hairline cracks | Thin cracks along seams or corners | Joint compound + tape (to keep the crack from coming back) |
| Large holes | Gaps bigger than a fist, sometimes jagged edges | Drywall patch kit (includes a new panel and tape) |
| Corner damage | Crushed or cracked drywall edges at corners | Corner bead + mud (rebuild and protect the corner) |
| Dents (no broken paper) | Shallow dips or marks on the wall surface | Spackle or filler (fill the dip, then smooth it) |
| Water stains | Discolored, soft spots that might smell musty | Cut out & replace (wet drywall can't be saved) |
Drywall Repair Tools & Materials (Checklist)
Before you start fixing drywall, make sure you have the right tools. Having everything ready saves time and makes the job go smoother. Here's what you'll need:
Essential Tools
These tools help you cut, shape, and apply materials easily.
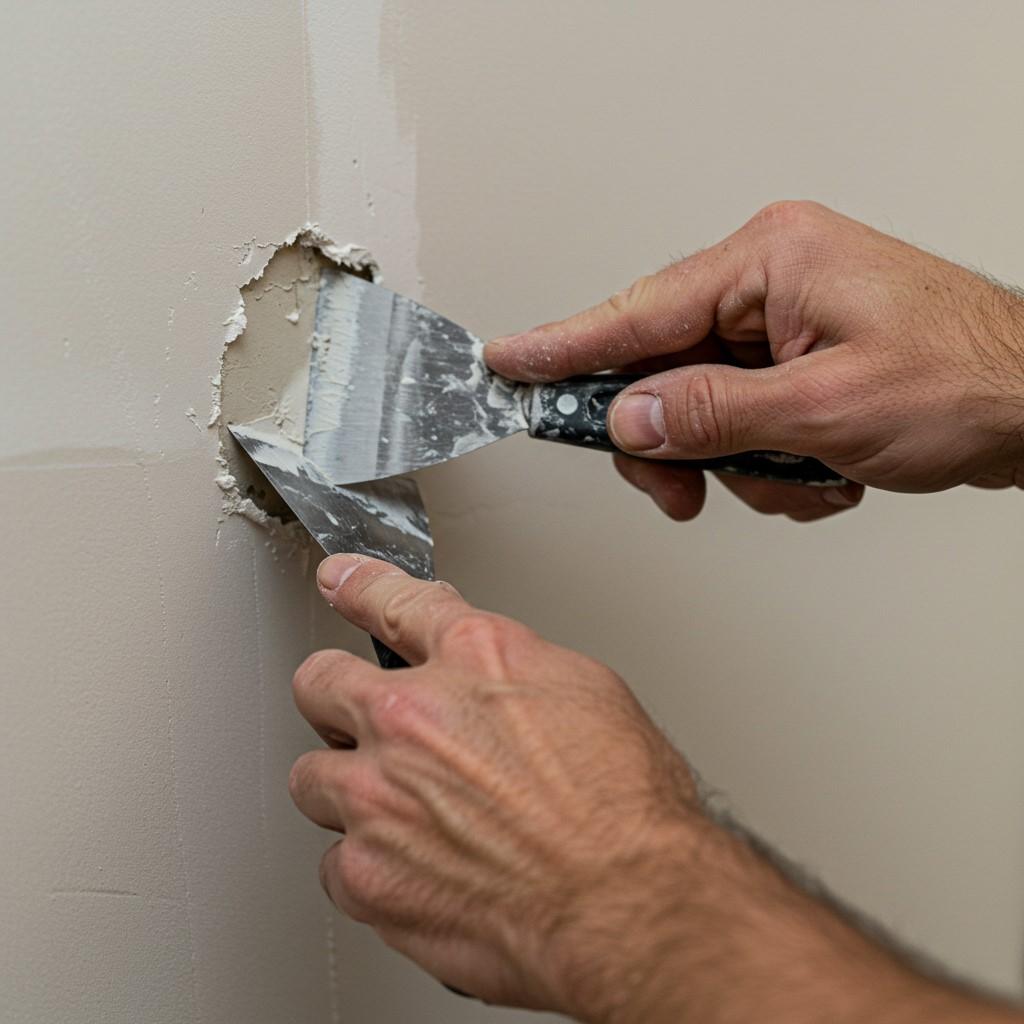
- Putty knife – Use a 3-inch knife for small holes and a 6-inch one for larger patches. The wider knife spreads the filler more evenly.
- Utility knife – Great for scoring and cutting drywall cleanly.
- Drywall saw – Needed for cutting out bigger damaged sections or holes.
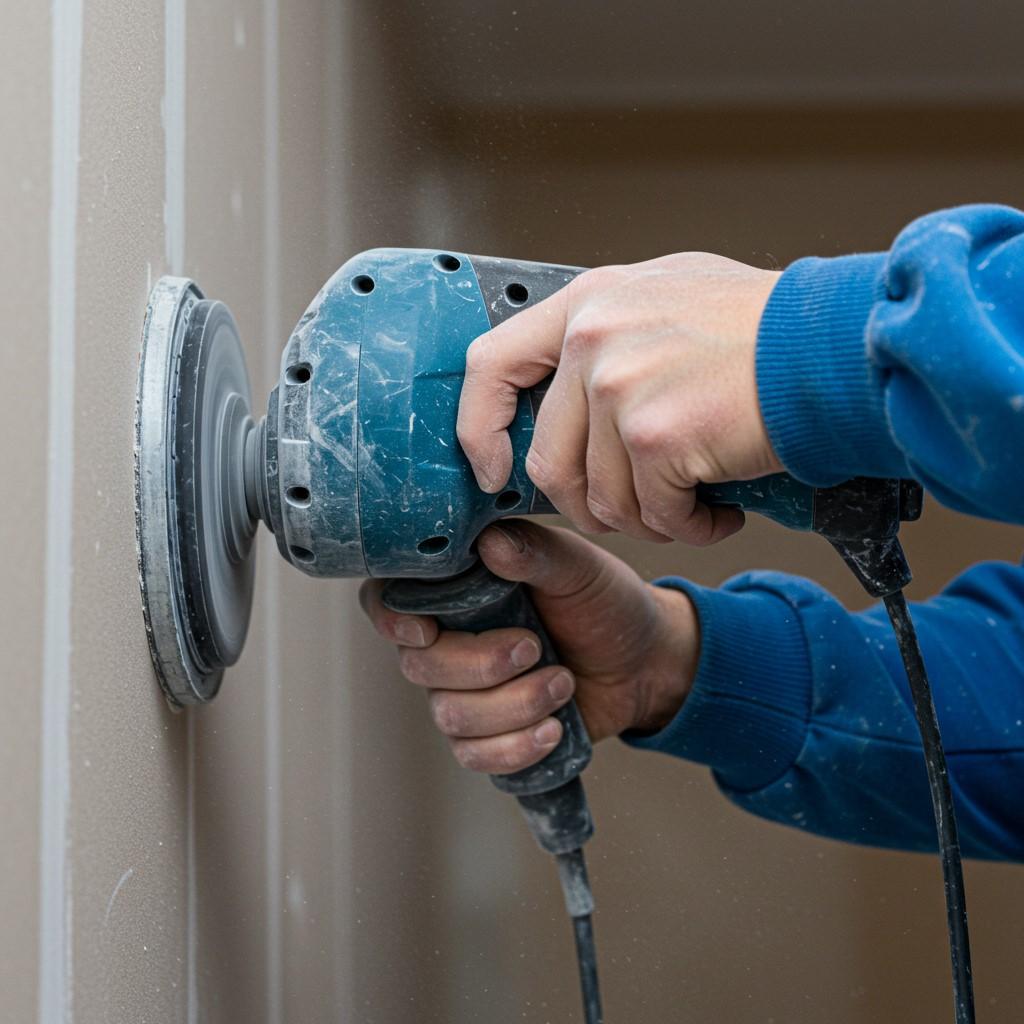
- Sanding block – Use 120-grit to smooth patched areas before painting.
- Taping knife – Helps apply joint compound in smooth, thin layers.
- Measuring tape & pencil – Helps you measure and mark before cutting, so everything fits right.
Repair Materials
These are what you'll actually use to fix the damage.
- Spackle – Dries fast and is perfect for filling tiny holes.
- Joint compound ("mud") – Thicker and better for bigger cracks or holes.
- Drywall patches – Use self-adhesive mesh or rigid patches to cover large holes.
- Drywall tape – Fiberglass or paper tape strengthens cracks and seams so they don't reopen.
- Corner bead – Protects wall corners from chips and cracks; made of metal or vinyl.
Finishing Supplies
These help your repair blend in with the rest of the wall.
- Primer – Makes sure your paint sticks well and looks even.
- Paint – Try to match your wall's current color for the best finish.
- Texture spray – Use this if your wall has a bumpy or textured look like orange peel or knockdown.
Safety Gear
Drywall work gets dusty. Always protect yourself.
- Dust mask – Keeps drywall dust out of your lungs.
- Safety goggles – Stops tiny pieces from getting into your eyes.
- Gloves – Keeps your hands safe and clean while working.
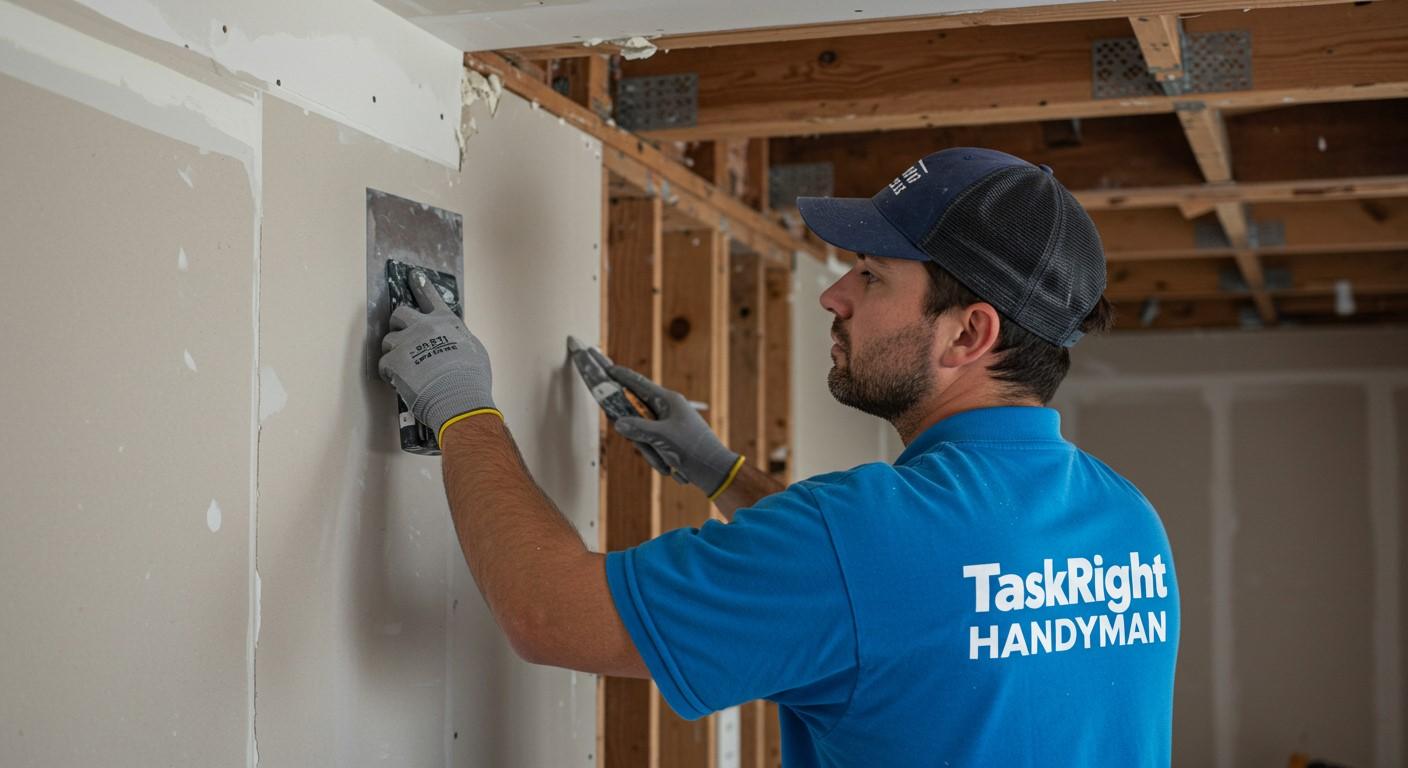
Step-by-Step Drywall Repairs (DIY Guide)
Now, let's fix that damage! Follow these simple steps to get clean, smooth walls again.
1. How to Fix Small Nail Holes (5-Minute Repair)
Materials Needed: Spackle, putty knife, sandpaper
These are the tiny holes left behind by nails, screws, or picture hangers.
- Clean the hole – Remove loose drywall bits or paint flakes so the spackle sticks well.
- Apply spackle – Overfill the hole a little because it shrinks as it dries.
- Smooth flat – Scrape off extra with a putty knife so the surface is even.
- Let dry – Wait 1–2 hours or as the label says; don't rush this part.
- Sand lightly – Make it smooth and use a damp cloth to clean off dust.
- Prime & paint – Cover the patch to match the rest of the wall.
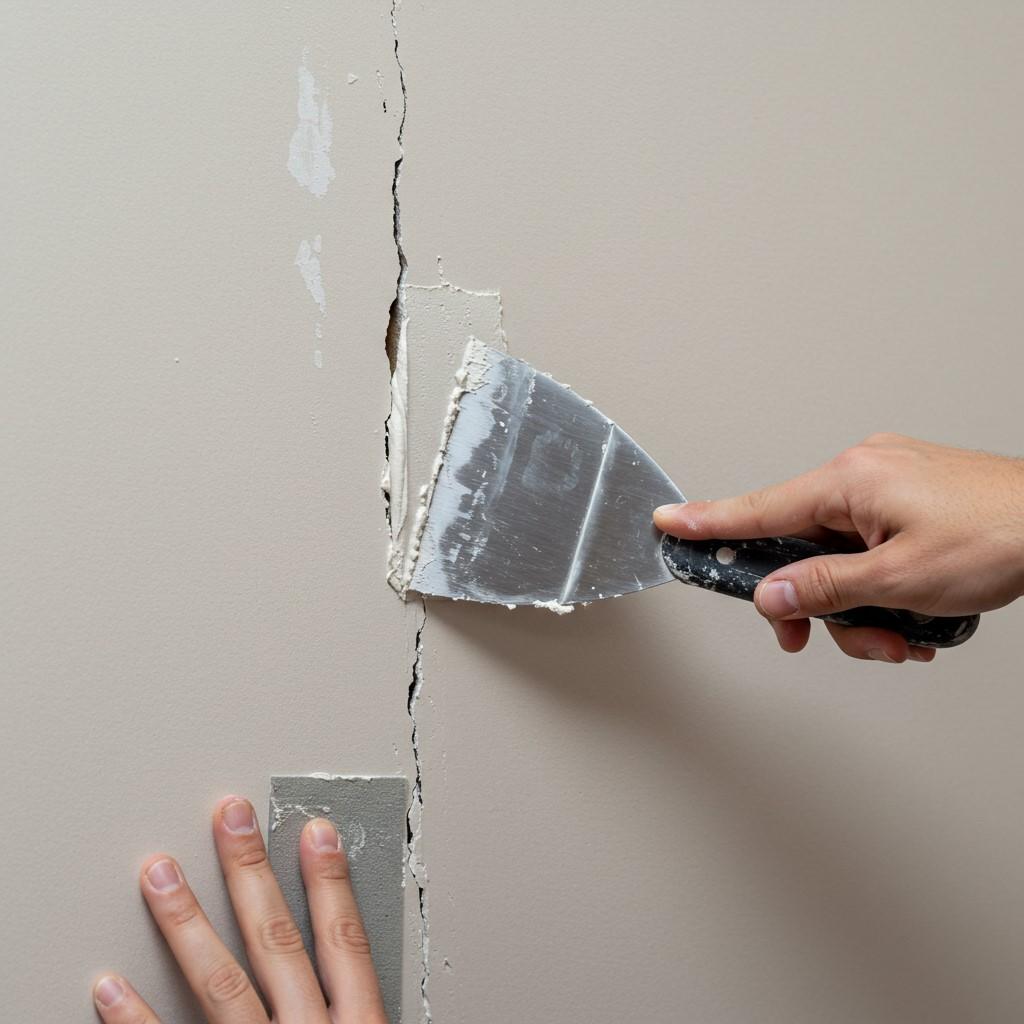
2. How to Repair Hairline Cracks (Prevent Reappearing Cracks)
Materials Needed: Joint compound, drywall tape, putty knife
These are skinny cracks that show up around doors, ceilings, or corners.
- Widen the crack slightly – Make it V-shaped to help the mud stay in place.
- Apply joint compound – Push it into the crack to fill it fully.
- Embed drywall tape – Self-adhesive mesh works best for holding it together.
- Cover with another layer – Spread the mud wider than the tape edges.
- Let dry, sand smooth – If needed, do a second or third layer for a flat finish.
- Prime & paint – Try to match the wall's color and texture.
Why does my crack keep coming back?
- The wall might still be moving or shifting.
- Or you didn't use enough layers of compound.
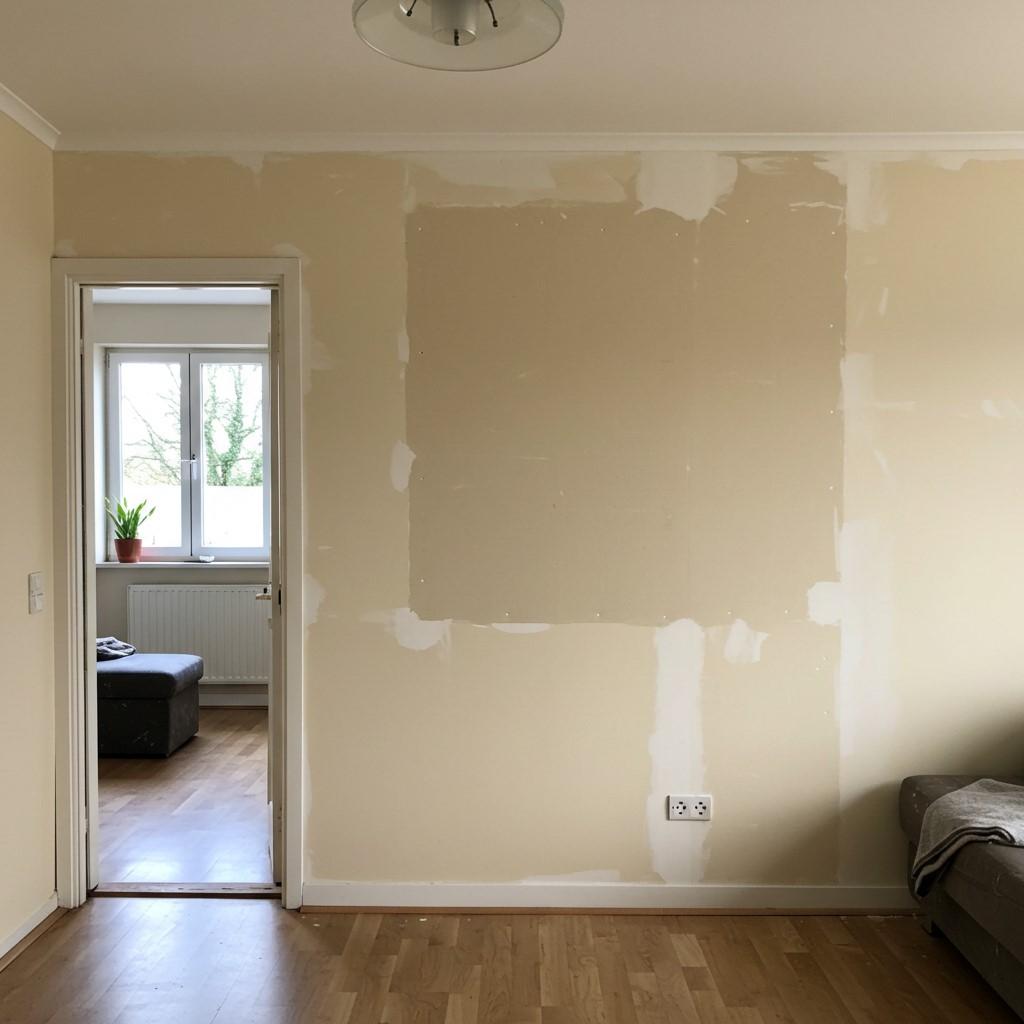
3. How to Patch Large Holes (Bigger Than a Fist)
Materials Needed: Drywall patch, joint compound, drywall screws
These are big holes from accidents, furniture bumps, or repairs gone wrong.
Option A: California Patch (For Holes Up to 6 Inches)
- Cut a square around the hole – Make clean edges using a drywall saw.
- Trim the new drywall piece – Make it just a little smaller than the hole.
- Apply joint compound – Press the patch into the space and hold it firm.
- Cover with drywall tape – Tape around the edges to keep it in place.
- Apply 2–3 layers of mud – Let each layer dry before sanding.
- Prime & paint – Match the wall so no one can see the patch.
Option B: Backing Support (For Holes Larger Than 6 Inches)
- Cut a clean square around damage – Remove any soft or broken drywall.
- Add wood backing – Screw a wood piece behind the hole for support.
- Attach new drywall – Screw it into the wood backing firmly.
- Tape seams, apply mud – Feather the mud to blend into the wall.
- Prime & paint – Finish it to look like the rest of the wall.
4. Fixing Dented Drywall (No Broken Paper)
Materials Needed: Spackle, putty knife
These are dips in the wall where the surface is pushed in but not torn.
- Clean the area – Get rid of any loose bits or dust.
- Fill the dent – Overfill a little so it levels out when it dries.
- Smooth flat – Use your putty knife to even it out.
- Let dry, sand, prime, paint – Same steps as before.
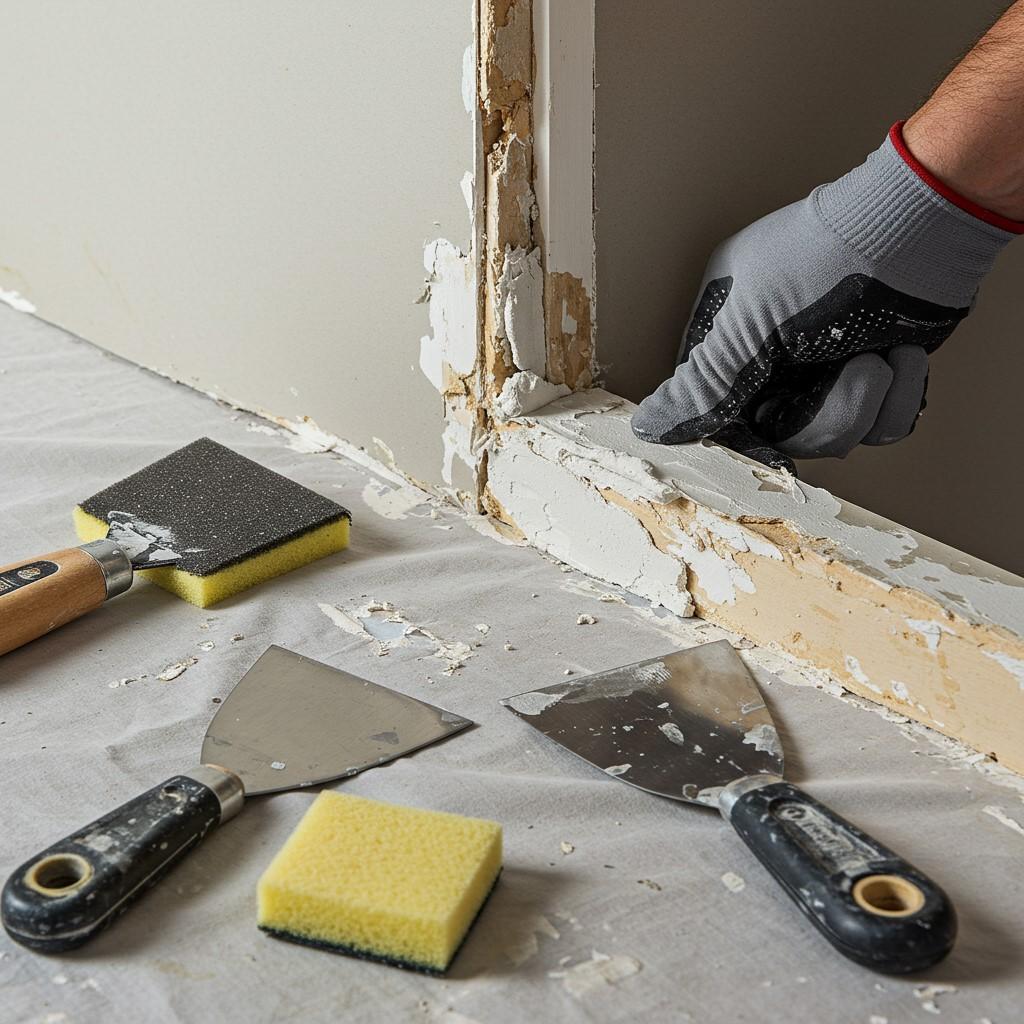
5. Repairing Corner Damage (Crushed or Cracked Edges)
Materials Needed: Corner bead, joint compound, tin snips
Corners get bumped a lot, so they sometimes crack or break.
- Remove loose drywall – Cut away any broken edges carefully.
- Install new corner bead – Use metal or vinyl to protect the corner.
- Secure with drywall screws – Make sure it's firmly in place.
- Apply joint compound – Add 2–3 layers for a smooth finish.
- Sand smooth, prime, paint – Finish it so the corner looks brand new.
Pro Tips for a Flawless Finish
- Feather the edges – Spread the mud wider than the hole so it blends in.
- Sand between coats – This keeps the wall smooth with no bumps.
- Use a bright light – It helps you spot any lumps or rough spots.
- Match wall texture – Use a sponge or spray so the patch doesn't stand out.
- Prime before painting – This makes the paint stick better and look even.
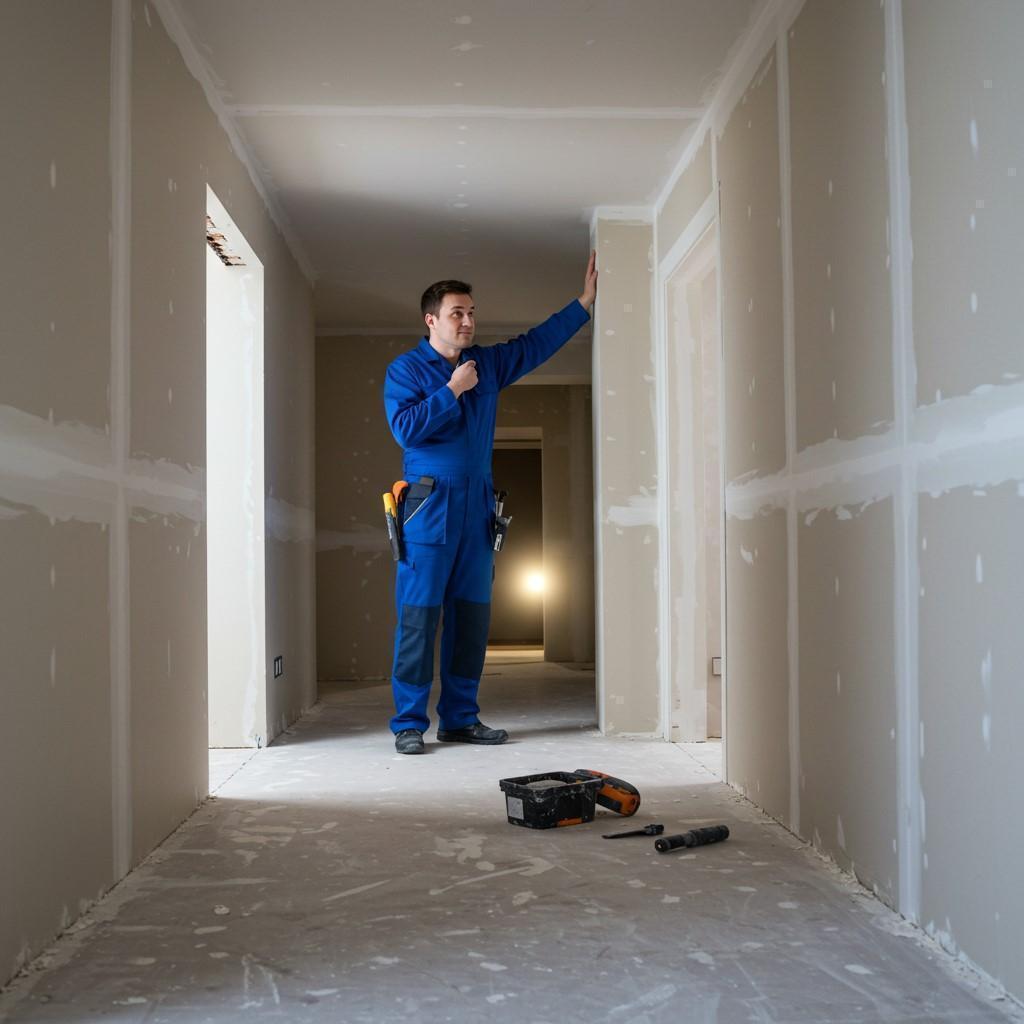
When to Call a Professional Handyman?
Some drywall jobs are just too tricky or risky to do yourself. If you see any of these signs, it's time to call a pro:
- Big ceiling damage – Ceilings are heavy and hard to reach. It's not safe to do it alone.
- Water-damaged drywall – Wet spots can hide mold. A handyman can safely remove and replace it.
- Cracks near wires or pipes – These areas can be dangerous. You might hit something important.
- Cracks that keep coming back – This might mean a bigger problem like a weak wall or foundation.
Why Hire a California Handyman?
- Knows the area – They understand what materials work best in places with earthquakes.
- Works fast and clean – You'll get a neat job done right the first time.
- Saves time and stress – You don't have to worry about tools, mistakes, or redoing things.
FAQs – Drywall Repair Questions Answered
Final Thoughts
Drywall repair is a handy skill that every homeowner should learn. Fixing small holes, cracks, and dents is simple once you know the steps. Plus, it makes your walls look new again!
But for bigger problems—like water damage, large holes, or cracks that keep coming back—a professional handyman is your best bet.
Need help? TaskRight Handyman offers expert drywall repair across California. Call us today and get your walls looking good as new!


Decoding the Home Repair Dilemma: DIY Mastery vs. Calling the California Handyman Experts
Decoding the Home Repair Dilemma: DIY Mastery vs. Calling the California Handyman Experts | TaskRight Handyman Need a Handyman? Get a Free Quote! Decoding the

10 Warning Signs Your Home Needs Electrical Repairs Immediately
10 Warning Signs Your Home Needs Electrical Repairs Immediately | TaskRight Handyman 10 Warning Signs Your Home Needs Electrical Repairs Immediately Introduction: Why Electrical Safety
Drywall Repair 101: How to Patch Holes, Cracks, and Dents Like a Pro
Drywall Repair 101: How to Patch Holes, Cracks, and Dents Like a Pro Drywall Repair 101: How to Patch Holes, Cracks, and Dents Like a
The Ultimate Home Maintenance Checklist – Seasonal Tasks Every Homeowner Should Know
Ultimate Home Maintenance Checklist The Ultimate Home Maintenance Checklist – Seasonal Tasks Every Homeowner Should Know Introduction Taking care of your home throughout the year

Handyman Price List 2025: How Much Does a Handyman Cost?
2025 Handyman Price Guide: California Service Costs & Estimates | TaskRight Handyman 2025 Handyman Price Guide: How Much Do Home Repairs Cost in California? Planning

The Ultimate Handyman Services List: 25+ Essential Home Repairs & Upgrades
The Ultimate Handyman Services List: 25+ Essential Home Repairs & Upgrades What Does a Handyman Do? Handymen handle a variety of home repairs, maintenance, and